If you have already read my guide on how to install WordPress on FreeBSD you will have been a bit disappointed since at the end there is a deceptive paragraph that reads as follows:
Now be aware you will set a user name and password for your wordpress install. They will be sent in plain text so anyone in between you and the server (mainly the ISP and the host company) or someone sniffing traffic on your same network has the potential possibility to see it. Therefore other securization steps should be followed before completing the install, such as getting an SSL certificate and redirecting at least the administrator traffic for your website through https.
That is at the final steps when you can finally install WordPress it is quite possible every guide is leading you to perform your install on an http connection (insecure) instead of doing it through https (secured by encryption). Not the “s” at the end. This “s” stands for TLS connection.
If you find the articles in Adminbyaccident.com useful to you, please consider making a donation.
Use this link to get $200 credit at DigitalOcean and support Adminbyaccident.com costs.
Get $100 credit for free at Vultr using this link and support Adminbyaccident.com costs.
Mind Vultr supports FreeBSD on their VPS offer.
Now, you have read my install guide but haven’t performed the install. Or you have read many other guides and the idea of just sending your user name and password to the internet in plain text just makes you swept. You’re lucky since I have written a guide on how to enable SSL on Apache. Following this guide you will enable a TLS connection capability on your server so you will not send your user name and password in plain text but you will do it using a secure connection. And all this without needing a paid certificate or using one from Letsencrypt, just one of your own. There is nothing wrong with Letsencrypt, in fact I use it and recommend it one thousand per cent. For those who have already performed their install through http and that is in plain text mode I urge you to follow any guide that enables SSL on your web server and change your password ASAP. Again I recommend you to follow mine.
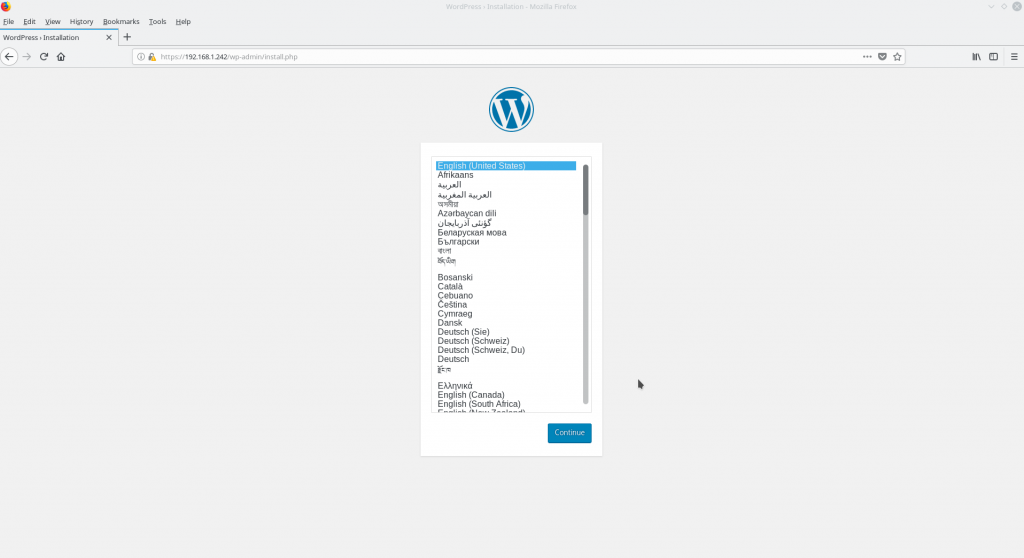
Once you’re done and you pretend to securely install WordPress on FreeBSD. First things first. Please point your browser to your domain or ip but do it sticking https:// in the beginning like so:
![]()
Now that the browser correctly points out to port 443 you can begin the isntall. The little “s” makes all the difference since without it the connection is done through port 80 and with no encryption.

Mind this does not redirect the WordPress administration to https. Doing so would mean whatever you do if you want to administer anything on WordPress, edit a post, add a picture to your repository, aka anything that means login, you will be redirected to an https connection. For that I have written another article where you redirect all administrative connections through port 443.
If you find the articles in Adminbyaccident.com useful to you, please consider making a donation.
Use this link to get $200 credit at DigitalOcean and support Adminbyaccident.com costs.
Get $100 credit for free at Vultr using this link and support Adminbyaccident.com costs.
Mind Vultr supports FreeBSD on their VPS offer.